From Floor Plan to Flow: Designing Multi-Zone Event Layouts That Actually Work
A gorgeous venue and great guests are a strong start but the layout is what makes an event sing. Get the zones right and everything feels effortless: arrivals glide, bars don’t bottleneck, conversations happen naturally, and your hero moments land exactly where you want them. This week, we’re sharing our go-to approach for planning multi-zone layouts that look sharp and work hard, plus the furniture that makes each space shine.
Step 1: Map the Journey (Not Just the Room)
Before you place a single chair, sketch the guest journey:
Arrive → Greet → Drink → Mingle → Main Moment → Relax → Farewell.
Those stages become your zones. Keep travel lines obvious and uncluttered; every decision should help guests know where to go next without being told.
Quick wins
-
Put registration/host points on the natural entry line, not tucked behind a door.
-
Keep bars and welcome drinks in sight of the entrance to spread guests evenly.
-
Leave a clean route to your hero space (stage, reveal area, product plinths).
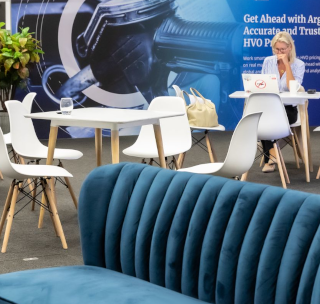
Step 2: Choose the Right Mix of Heights
A good layout uses a blend of seating heights to keep energy up and sightlines clear.
-
Standing & Perch (high): poseur tables + bar stools around bars and activations.
-
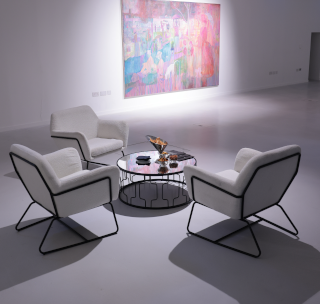
Conversation (mid): lounge groupings with sofas, armchairs and pouffes.
-
Dining / Theatre (low): banquet tables or neat rows for key moments.
Yahire picks: wire or gold bar stools with glass poseurs for a minimal footprint; Amber or Grey sofas with Paris pouffes for soft lounge clusters; Chiavari or Crossback chairs when it’s time to sit down and focus.

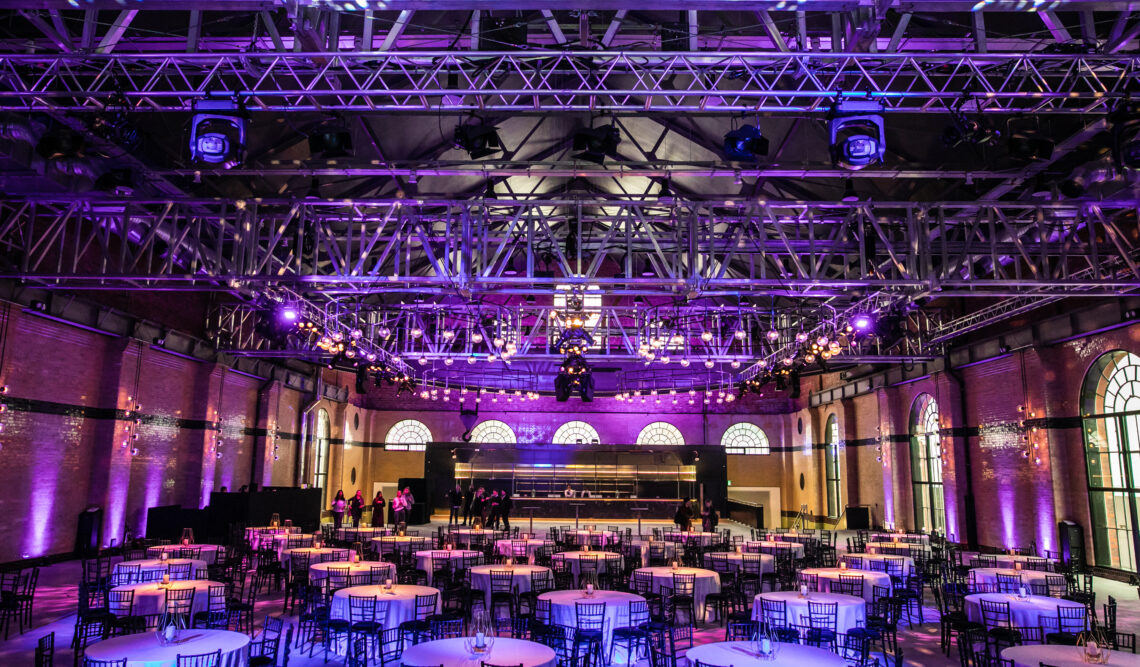
Step 3: Zone Like a Pro
1) Welcome & First Impression
Set tone, gather coats, hand out lanyards or fizz.
Furniture: console table for check-in, a pair of armchairs, slim cocktail tables for early arrivals.
2) Bar & Social Hub
This is your engine room—give it space to breathe and wrap it with perching spots, not sofas.
Furniture: mobile bar, poseurs, wire bar stools, back bar shelving for glassware and branding.
3) Showcase / Stage / Screen
Your “reason to gather”. Keep a clear fan-shape in front, with standing at the back.
Furniture: theatre chairs or benches; slim side tables for water and notes; a lectern if needed.
4) Lounge Corners
Where conversations deepen. Use clusters that seat 4–6 so groups don’t sprawl.
Furniture: Amber Lush sofas, Noir armchairs, Aria or Gold Eclipse coffee tables, Paris pouffes.
5) Dining or Tasting
Give servers access on all sides and avoid cramming.
Furniture: round tables with Chiavari/Crossback chairs; charger plates for polish; sideboards for service kit.
6) Outdoor Spill-Out (if you’ve got it)
Keep it simple and wind-proof.
Furniture: teak sets, lanterns, a few poseurs; plan B blankets/heaters in cooler months.
Step 4: Use “Invisible Design” Tricks
These are the little layout moves that make a big difference:
-
Three-point rule: bar, stage and lounge form a triangle, no single focal area swallows the room.
-
60/30/10: roughly 60% standing/perch, 30% lounge, 10% seated, great for receptions of 150+.
-
Anchor each zone: a rug, a lamp, a plant or a low coffee table instantly defines a space.
-
Mind the margins: keep 1.2m clear routes for service and accessibility; nothing blocks fire exits (ever).
-
Cable sense: if AV is in the room, plan cable paths before furniture. Your crew will love you.